
Would you like to install WordPress in a subdirectory? If so, then you will have a very easy time running multiple WordPress instances under the same domain name. This can all be accomplished without affecting the actual domain you are creating the subdirectory in. This is used for creating multiple websites on the same domain name, which has many benefits.Awesome WordPress Web Hosting
Free SSL Certificate, Site Migration & Domain Name. Get Amazingly Fast, Secure & Eco-Friendly WordPress Hosting with 24/7 Expert WordPress Support.Starting from $2.95/month.
BBB A+ Rating – EPA Green Power Partner – 30-Day Money Back Guarantee
For starters, by using an existing domain name you are not exactly starting from scratch when you create this new subdirectory. Keep in mind that a subdirectory is different from a subdomain. This means it has its own set of benefits from creating a new website, like SEO. A subdirectory will benefit from the domain name and will rank higher than normal. Today I will demonstrate how to install WordPress in a subdirectory.
Why Install WordPress in a Subdirectory
As I said before it allows you to run multiple WordPress instances on a single domain name. This in itself will save you a few bucks from registering another domain name through your web host. That might sound great as a short-term benefit, but the major one is the long-term SEO benefits. Ranking higher on search engines like Google and Bing will help your website grow and increase your web traffic. The more traffic you get, the better the chances that you will build a strong community.
The obvious advantage of having a higher amount of web traffic is ad revenue. The Internet is free thanks to advertisements, and it is one of the main sources of income website developers will make a profit off. The more popular the website, the more advertisement opportunities you will have, but remember not to ruin the visitor’s experience by placing too many ads or slowing down your website’s page load time.
How to Easily Install WordPress in a Subdirectory
Today I will demonstrate how to install WordPress in a subdirectory. There are no additional plugins needed, but you will need access to your websites cPanel, which is provided by your web host. Since you will be creating a subdirectory in an existing domain name that is in use, you should create a backup of your website before continuing. This will ensure that if something goes wrong, you will be able to revert to when the previous version when everything was working.
Head over to your cPanel provided by your web host. Click on the File Manager option.
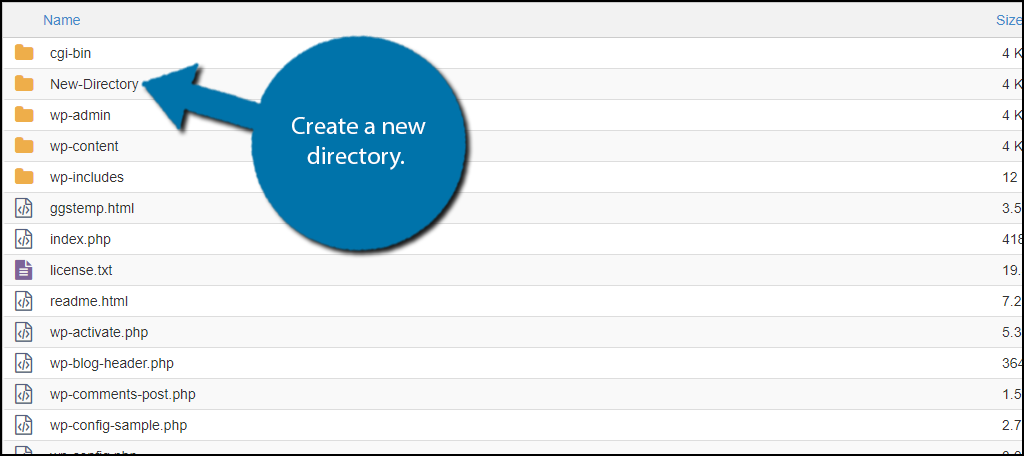
Your WordPress files should be located in the public_html directory. You will want to create a new subdirectory in this section. Add a new directory by creating a new folder. Make sure you do not name the folder something that is already in use. The folder name is also what your visitors will type into the URL to find it, so make sure it is appropriately named for them. This will cause errors, and it is best if avoided. Also never leave a space in any of your files names. Fill in any spaces with a hyphen. For example, New Directory should be New-Directory.
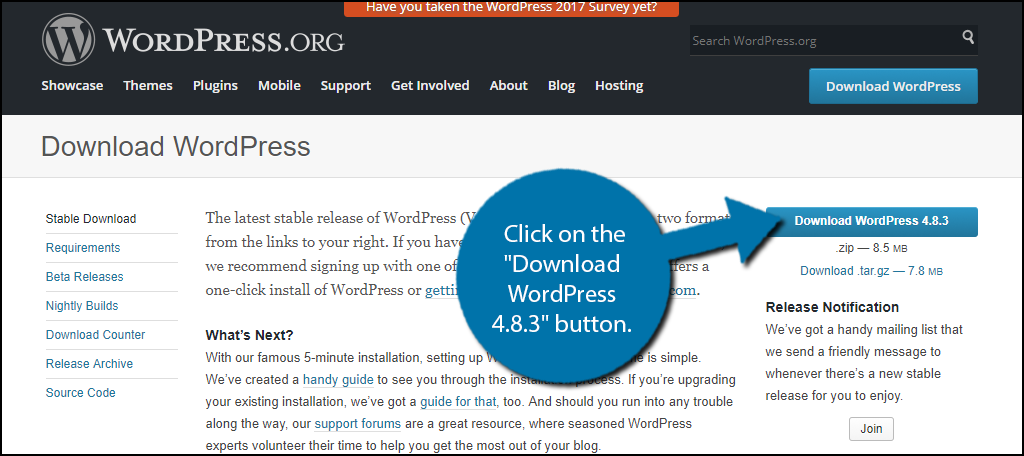
The newly created folder is now empty. You now need to install WordPress in the folder. Visit the download page of WordPress.org and download the WordPress files. Begin the process by clicking on the “Download WordPress 4.8.3” button. The file you downloaded will be a zipped version.
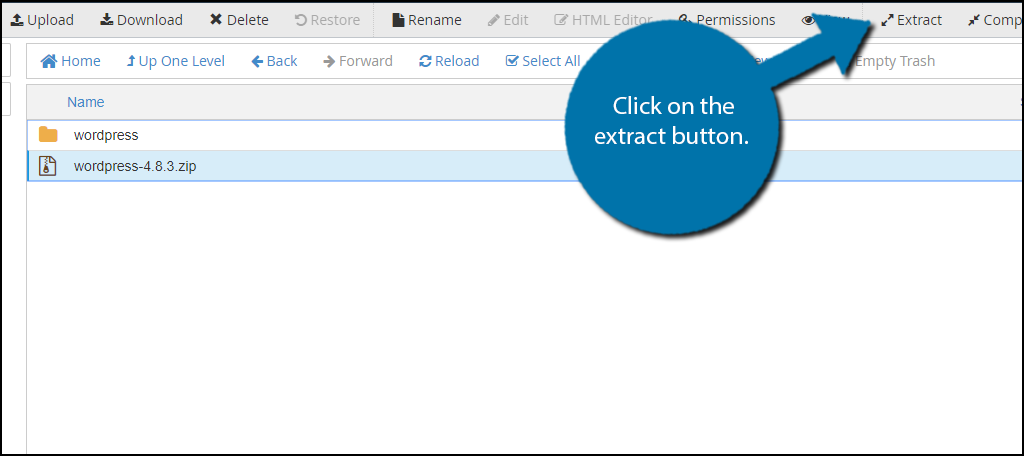
Upload the zipped WordPress-4.8.3 folder that you just downloaded into your newly create subdirectory folder. Once it is in the newly created directory, you will need to unzip the file by clicking on the extract button. Once it is done, you should see a WordPress folder appear. You can now delete the zipped file.
You now have a slight problem with having the WordPress folder where it is. Instead of going to:
www.ggexample.com/New-Directory
Your visitors will have to go to:
www.ggexample.com/New-Directory/WordPress
To fix this go inside the WordPress folder and highlight all of the content. Click on the move button and move all of the files directly into the New-Directory folder. You can now delete the WordPress folder.

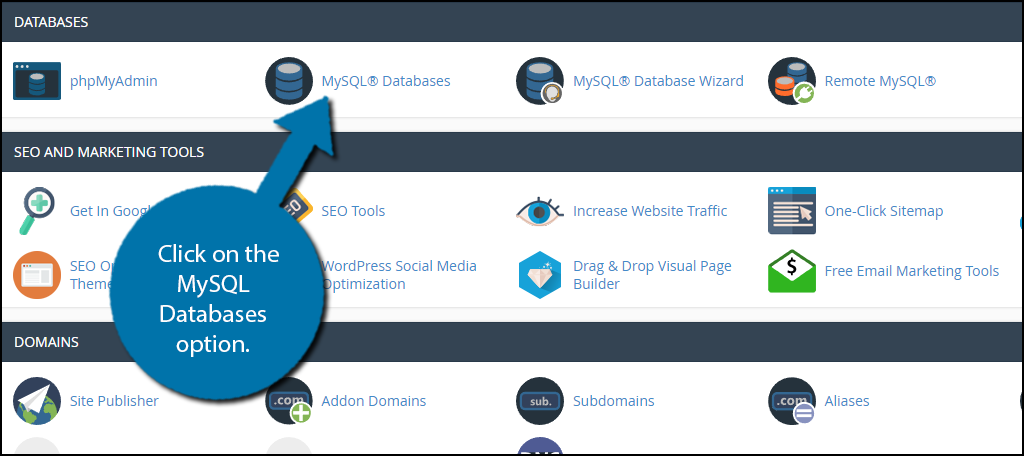
You now have two things left to do. Create a new database for your subdirectory and go through the installation process for WordPress. Let’s focus on the Database portion first. Go back to the main cPanel and click on the MySQL Databases option.
On this page, you need to create a new database, username, password, and add the necessary privileges to the new user you created. Simply go through the page and insert the appropriate information, but make sure to write down the username and password you create. Make sure you click on the respective buttons to save your work in each section.
It’s now time to install WordPress in the subdirectory. Go to:
www.ggexample.com/New-Directory
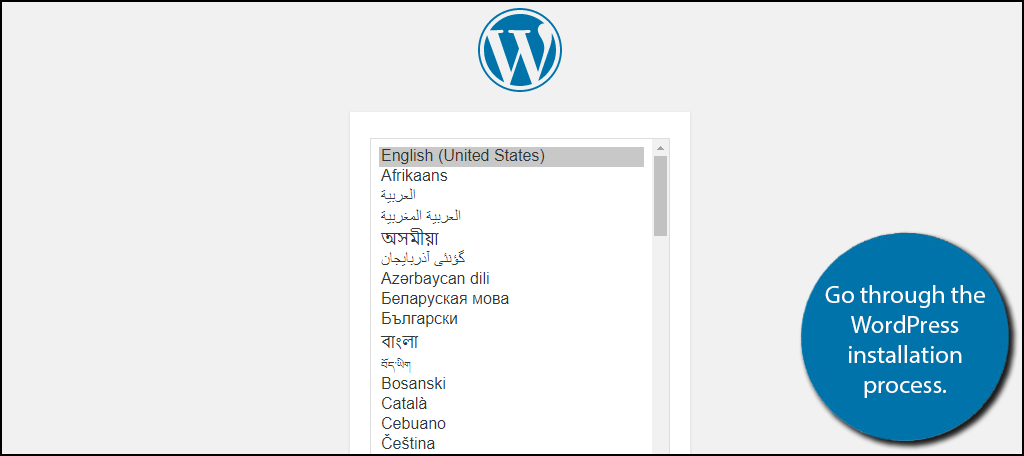
In the above URL, New-Directory is the name of the subdirectory you placed the WordPress folder in. Once you load the page, you will be inside the WordPress installation wizard. Follow the instructions and insert the appropriate information in the appropriate fields. Once you are done entering the information, you will be prompted to install WordPress.
It is possible you already have WordPress installed in the root directory. This will cause a 404 error but can be easily fixed. Copy and paste the following code into the .htacess file:
#BEGIN WordPress
RewriteEngine On
RewriteBase /your-subdirectory/
RewriteRule ^index\.php$ – [L]
RewriteCond %{REQUEST_FILENAME} !-f
RewriteCond %{REQUEST_FILENAME} !-d
RewriteRule . /your-subdirectory/index.php [L]
#END WordPress